Papercrafting Event Favors
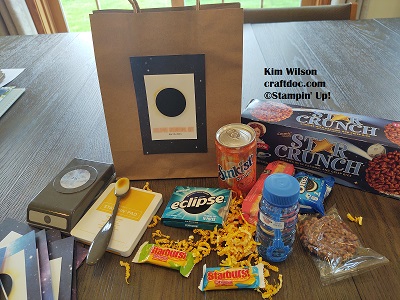
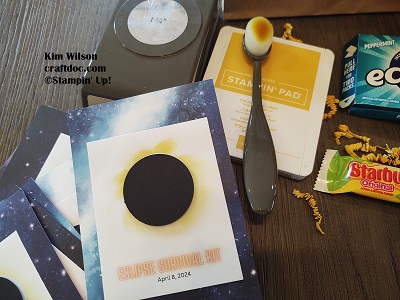
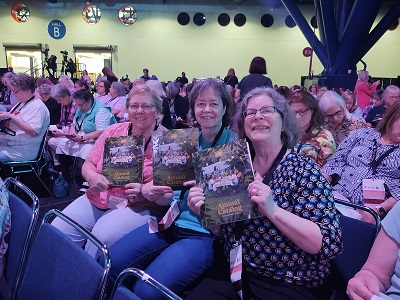
My Stampin’ Up! team just finished up our 12th weekend craft retreat at a local church camp. I love connecting with fellow crafters at our events. It is a joy to serve these special ladies as we work, eat and laugh together. Each time I like to prepare a little table gift. This time we had tins filled some nail file favors, make & take supplies and of course, CHOCOLATE!
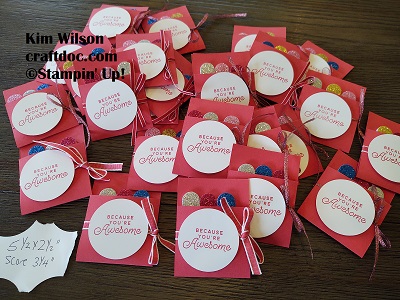
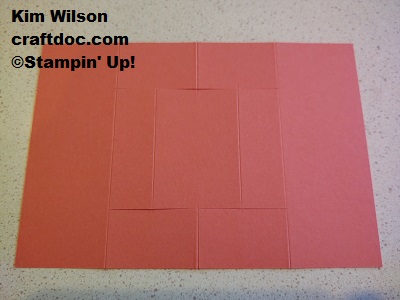
These small nail files were from Amazon and I made a simple cover for them, tied together with a ribbon. You can see the measurements in the photo.

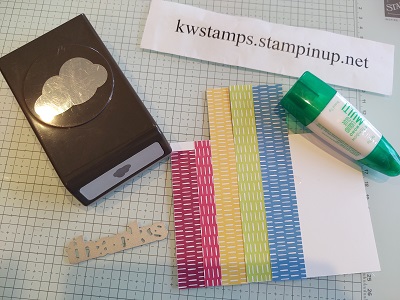
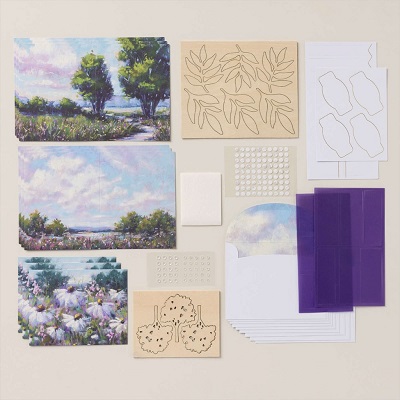
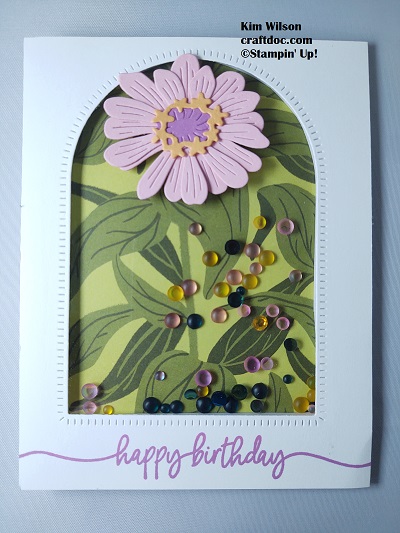
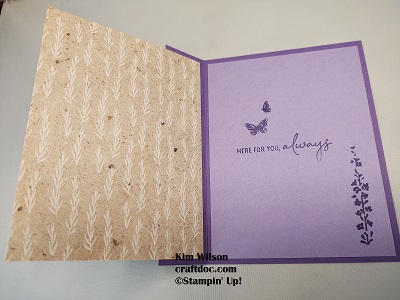
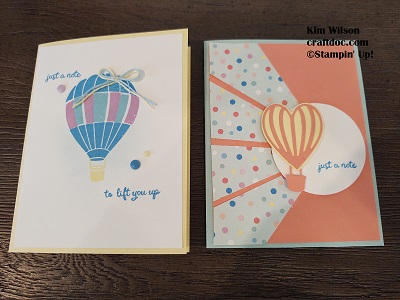
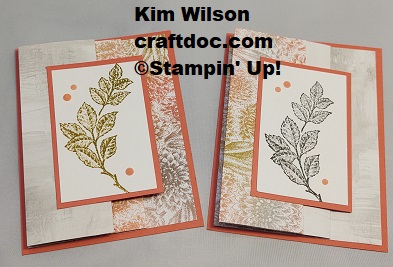
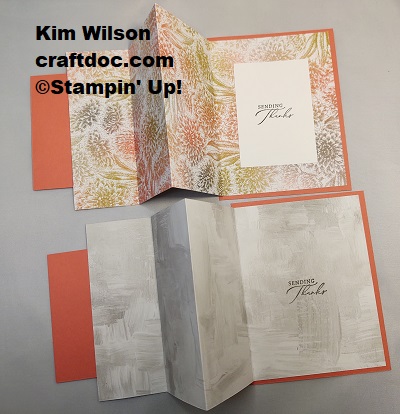
Our make & take was a seed packet card made using the Zinnia Suite by Stampin’ Up! The seed packet slides under the glimmer paper strip so it can be easily removed. There’s a great sentiment for the inside too. The brads are only available until April 30th, so grab them soon. I have a pdf printout for this project – contact me through my website and I’ll send it out after I get back from the Stampin’ Up! Incentive Trip (disclaimer – less than 1% earn the trip).
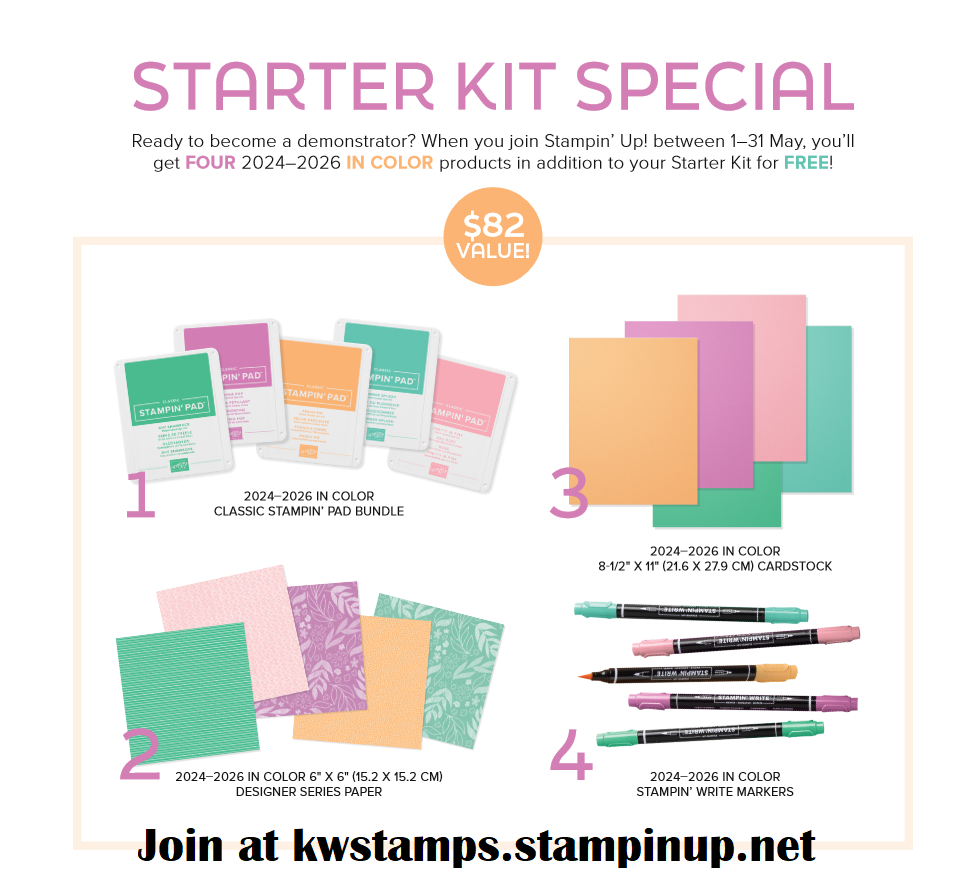
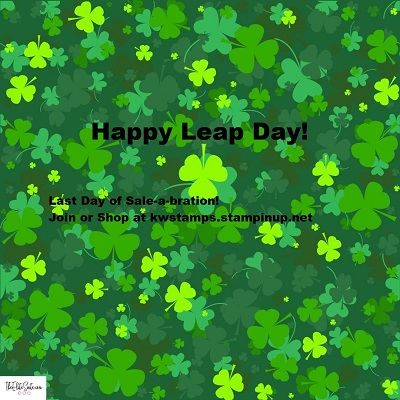
There is a fabulous join special starting May 1 – free In Color!!! Be sure to use my name or my special link to be part of our Stampers To Remember Team.
Happy crafting,
Kim Wilson
Product List")

 Designer Series Paper")
")

 Glimmer Specialty Paper")
 Bordered Ribbon")
 Circle Punch")


 Designer Series Paper")


 Designer Series Paper")
")

")
")
")


")


 Designer Series Paper")
 Circle Punch")


")


")
")


 Designer Series Paper")

")
")


")


 Designer Series Paper")
")
")


")


 Designer Series Paper")

 Bordered Ribbon")

")
")
")


 Designer Series Paper")

")
 Designer Series Paper")


")
")
")