Faux Polka Dot Brads – Tutorial
I promised to tell you how to make some polka dot brads that are flat enough to go through the mail. I love the new In Color brads, but they are too lumpy to mail. So I came up with this solution that I can make in any color! First a sample:
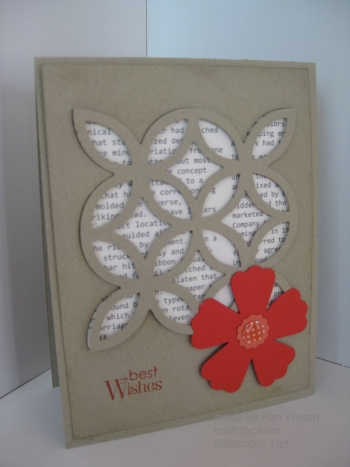
Isn’t this beautiful? I copied the idea of popping out the lattice onto a Crumb Cake panel over a piece of First Editions designer paper. I sponged ink around the panel for contrast. I came up with a really cool color combination – Poppy Parade and Calypso Coral for the flower (Fun Flowers die). The sentiment is from Petite Pairs.
Faux Polka Dot Brads Tutorial:
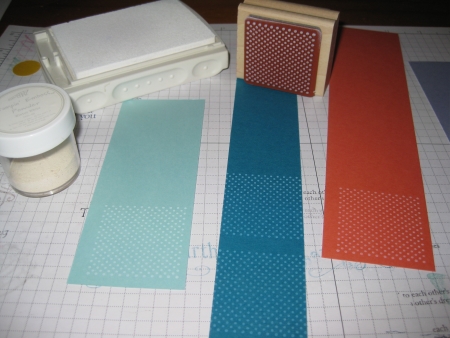
1. Stamp the polka dot stamp from the For All You Do stamp set with Whisper White ink onto the color cardstock of your choice.
2. Emboss with White Embossing Powder.
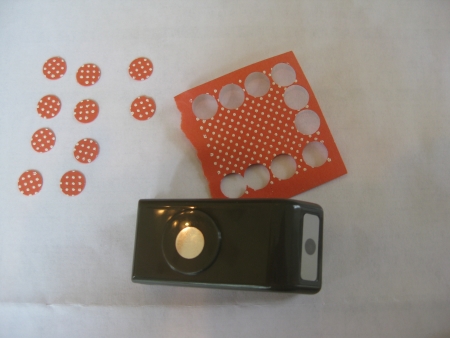
3. Using your Itty Bitty Shapes Circle punch, punch out circles.
4. Cover each circle with Crystal Effects.
Tips:
You can use any fine dotted stamp – but this one is the best that I found.
You can get 16 circles out of each stamp if you keep them really close together.
Try to get the CE right to the edge – I didn’t do a great job on that – but they still look good in person. I used the pin that I keep in the top of my CE bottle to hold down the dots. Be patient – I flipped a few!
Let dry overnight. They will seem dry in an hour or so, but may still stick together if not dried thoroughly before storage.
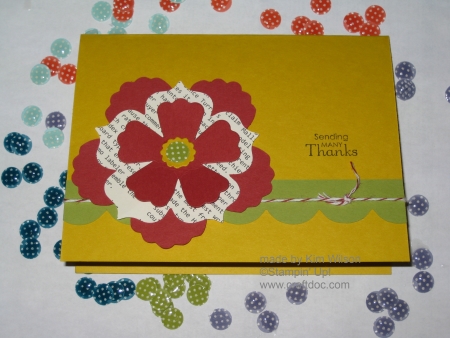
Again, Fun Flowers die and Petite Pairs stamp set.
Products can be purchased at my online store www.kwstamps.stampinup.net
No Comments »
No comments yet.
RSS feed for comments on this post.
Leave a comment
Line and paragraph breaks automatic, e-mail address never displayed, HTML allowed: <a href="" title=""> <abbr title=""> <acronym title=""> <b> <blockquote cite=""> <cite> <code> <del datetime=""> <em> <i> <q cite=""> <s> <strike> <strong>