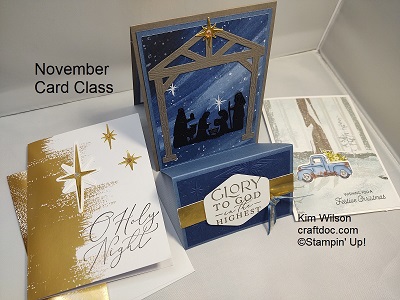
CRAFTDOC

Your Creative Coach

Forever Forest

Filed under: Projects — December 13, 2023 @ 9:53 am

FREE SHIPPING ALERT – CHECK IT OUT IN MY STORE – ONE DAY ONLY

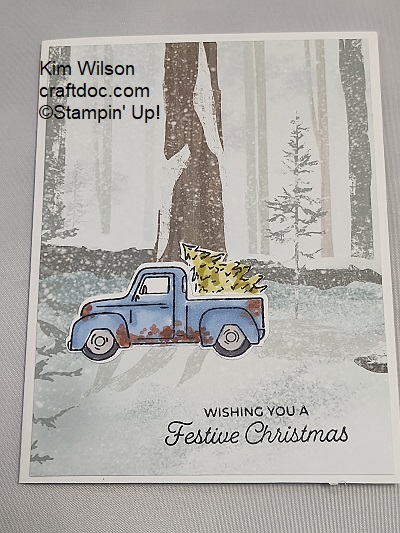
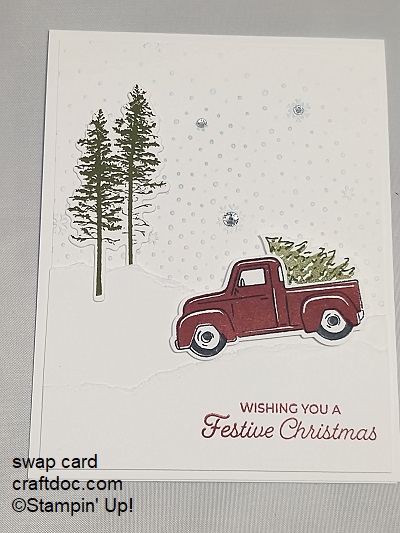
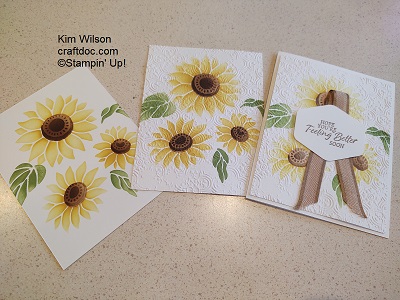
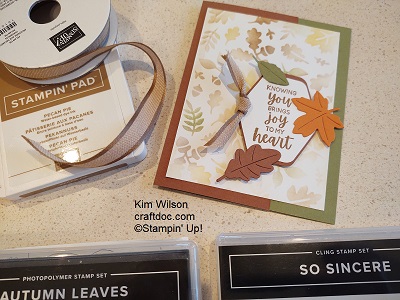
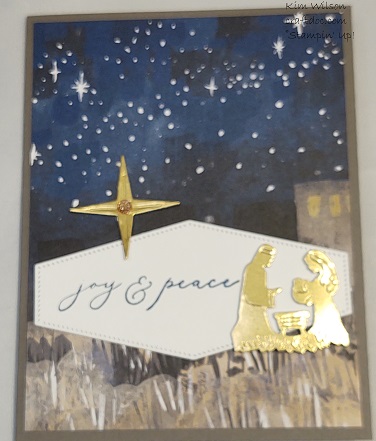
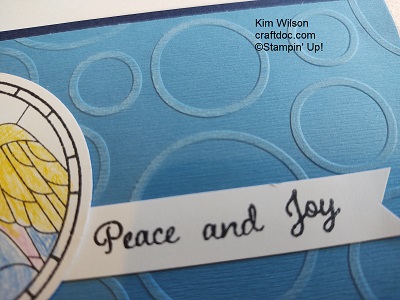
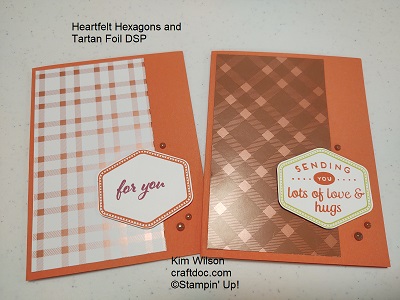
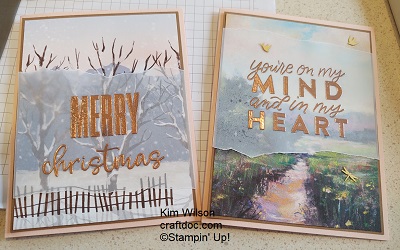
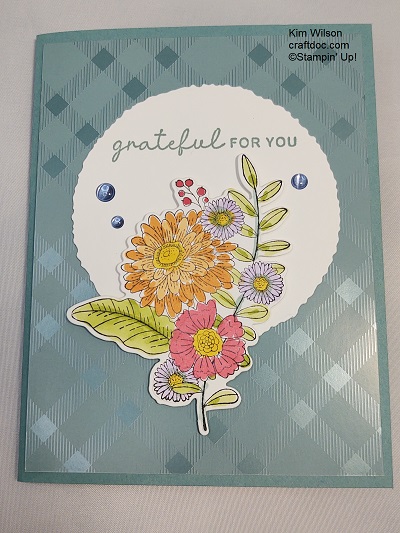
The Forever Forest stamp set and dies are lovely for any season of the year where an outdoor theme is needed. Add some Pearlized Enamel Effects for winter snow.

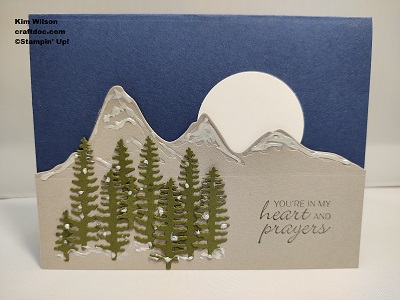
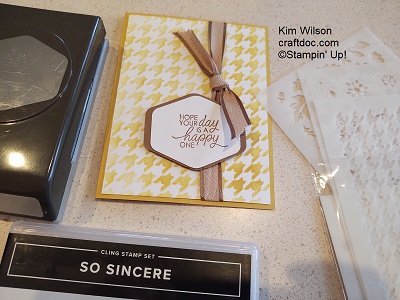
A punched moon completes the winter scene. Sentiments from the So Sincere stamp set are a perfect addition.

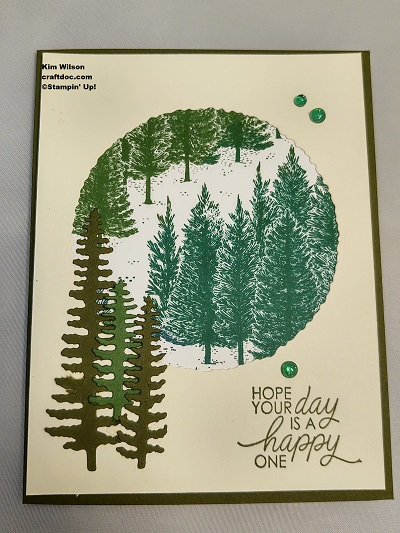
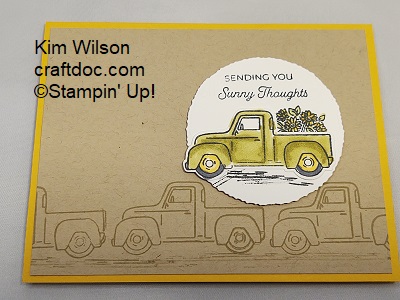
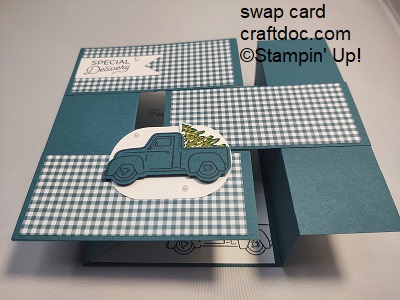
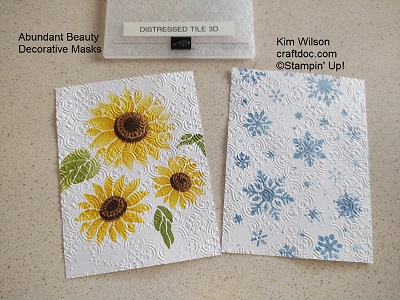
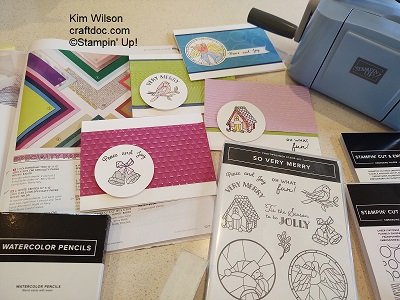
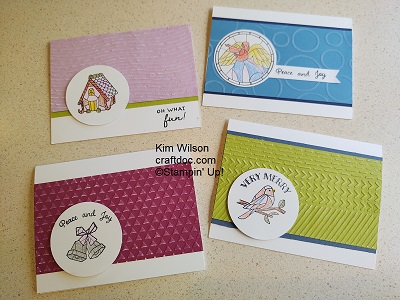
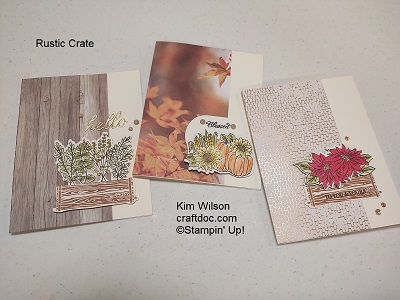
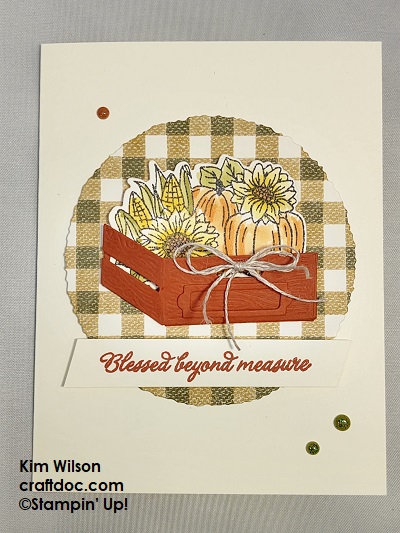
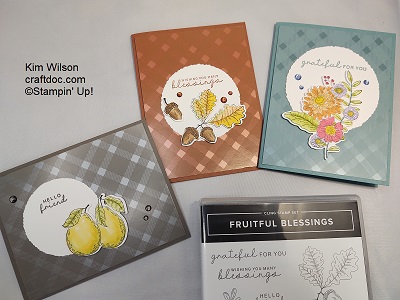
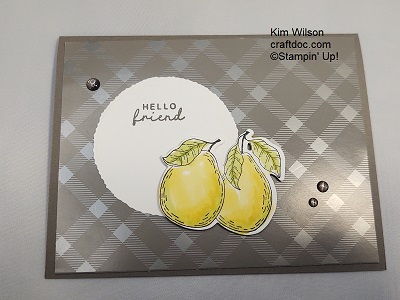
Here I used up some leftover pieces – a stamped Fragrant Forest background and a die cut Deckled Circle negative.

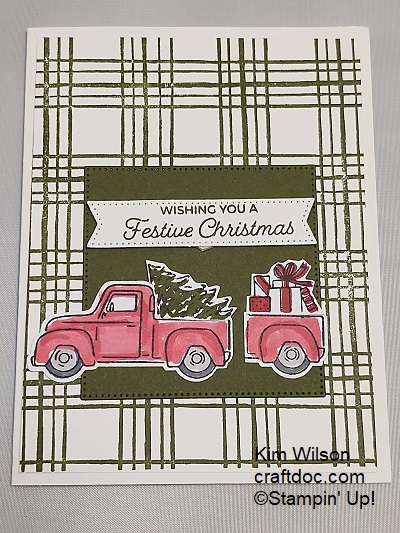
I couldn’t resist adding the Trucking Along truck to the scene.

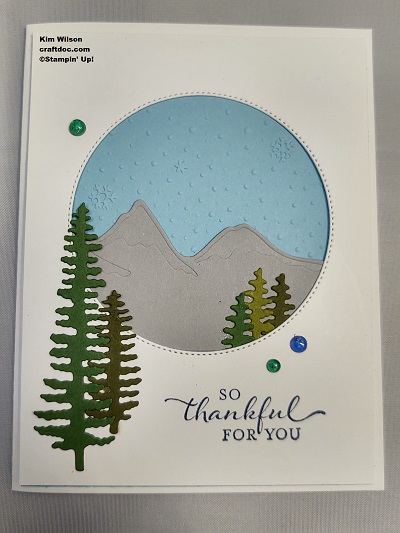
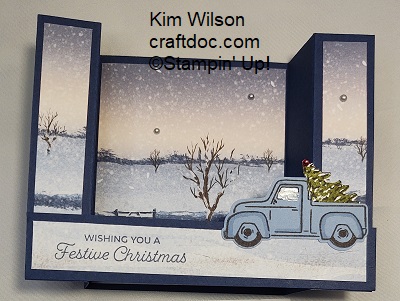
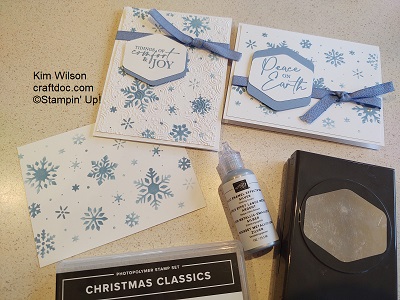
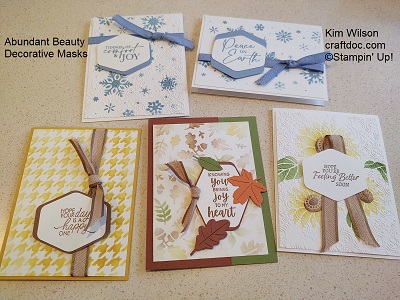
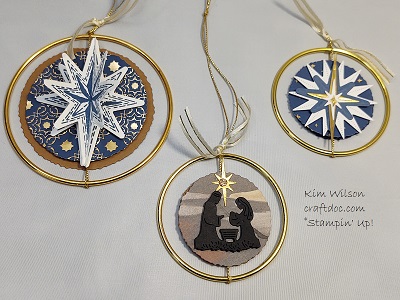
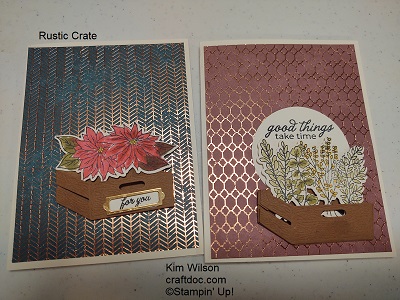
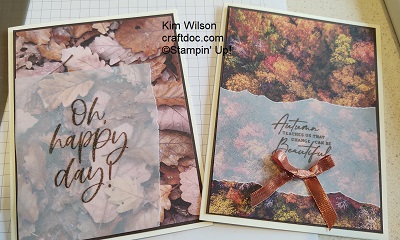
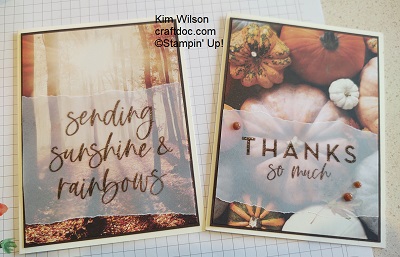
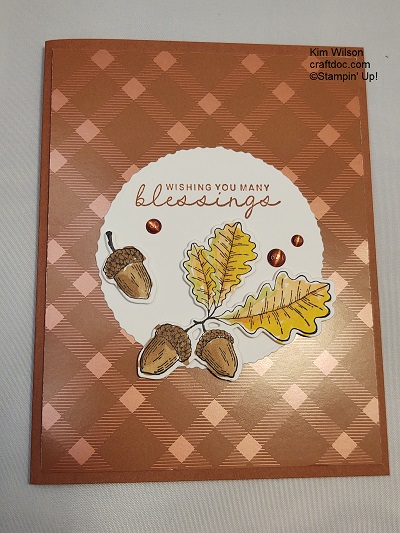
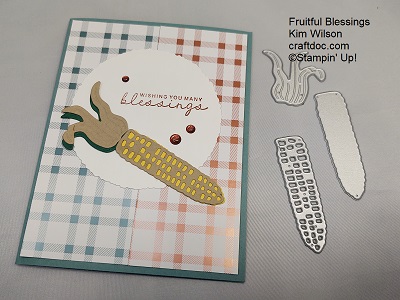
The negative from the previous card was perfect to showcase the mountains from the dies. Tinsel Gems 4 pack were my embellishments of choice for these fun cards. The Snowflake Sky 3D embossing folder has been out of stock for a while, but it should be back soon (as it is not retiring). Grab the Forever Forest bundle this month while it is still at the 10% off bundled price.

Happy crafting,

Kim Wilson

CLICKABLE Product List

Easy Card Layout

Filed under: Projects — December 6, 2023 @ 10:41 am

If you are still working on Christmas cards, here’s a quick way to make multiples. Or, use the layout with any patterned paper to make a fun design for any occasion.

This layout worked especially well with the Traditions of St. Nick paper because I was able to fit a St. Nick in the left column every time!

Measurements: left column: 5-1/4 x 2-1/8″ Right column: 2 x 1-3/4 and 3-1/8 x 1-3/4″

Tip: Use the Stampin’ Blends Markers to color the ribbon to match your paper.

Give this layout a try and if you like the paper, grab it soon. It’s an online exclusive and available only while supplies last.

Happy crafting,

Kim Wilson

Product List

Decorative Mask AKA Stencils

Filed under: Projects — December 6, 2023 @ 8:00 am

Note: I kept postponing this blog post because the Abundant Beauty Masks were perpetually out of stock. Well, they are back, but retiring at the end of the month, so this is your last chance if you don’t already have them!

Stencils have really blossomed lately in the crafting world lately, especially ones with layering. Stampin’ Up! has one set that has been exceptionally popular this season – the Abundant Beauty Decorative Masks.

Using the 4 layers of stencils, add one color at a time with a blending brush or sponge dauber. You can shade by adding more color to portions of the image.

Step it up by dry embossing with the Distressed Tile 3D embossing folder and some Pecan Pie Ribbon.

I loved the Distressed Tile with the Snowflake stencil too. And here’s a fun tip – try adding some dots of Silver Enamel Effects to the snowflakes – really cool!

The houndstooth background was really easy. I suppose you could blend multiple colors for a rainbow effect.

I made this Autumn Leaves background right after the sunflower, using the leftover ink from the 4 blending brushes. I’m still loving this Pecan Pie ribbon!

I tried all the stencils in the Abundant Beauty pack and enjoyed my crafting session immensely. Check out all the supplies below and give it a try!

Happy crafting,

Kim Wilson

Product List

Classic Christmas Cards

Filed under: Projects — November 29, 2023 @ 8:04 am

The Joy of Christmas Suite is another favorite of mine from the Stampin’ Up! mini catalog. I love the beautiful fonts and classic sentiments from favorite Christmas carols. And of course the lovely paper with traditional Christmas designs and musical notes.

The following fun fold was so easy and really showcases the NOEL letters.

I thought the hexagon punch would pair nicely with the variety of paper designs in this suite – oh yes!

I used the same trick as last week to color the Gold & Vanilla ribbon above – Stampin’ Blends Markers!

And I made some more of the ornaments (instructions were in last week’s post). So cute and easy to make!

Better catch these product while they are still available – the minicatalog ends soon – links are below.

Happy crafting,

Kim Wilson

Product List

Divine Night – Nativity Cards

Filed under: Projects — November 22, 2023 @ 8:30 am

The O Holy Night Suite has been one of the most popular in the Stampin’ Up! mini catalog this season, and rightly so! I hope you are inspired to create some lovely Christmas cards.

These are my 3 cards for the November Card Class. I will be sending the pdf instructions to everyone that purchases from my store this month. The first 2 cards feature the O Holy Night Suite with the Brushed Gold Cards & Envelopes and with a fun fold.

Tip: Color the Gold & Ivory Ribbon with your Navy Stampin’ Blends Marker if you don’t have the Navy Ribbon

Here’s another fun fold I did with this amazing suite:

You can see that it is basically a card folded hot dog style with a hamburger style gatefold card inside. The gates are scored at 2-1/8 inches from each side. You might have to snip off a tiny bit off the bottom of the inside card so everything is even.

Here are another couple of cards I made with this gorgeous suite.

And last but not least, I had to try the ornaments from the mini catalog. They were so much fun!

Here are some tips for the ornaments. Use 3″ and 4″ gold Macrame rings. Put a glue dot at the top and bottom of the ring to help secure the gold twine. Knot at the top of the ring and again to make a loop. Cut circles for the front and back. When you add the back circle, adhere with 2 Stampin’ Dimensionals, pulling the loop to opposite sides. This will keep the circle from rotating in the ring. Then add the front DSP circle and decorate as desired.

I hope you love these ideas, and if you are missing any of the products – just click on the links below.

Happy crafting,

Kim Wilson

Product List

Using White Core Paper

Filed under: Projects — November 15, 2023 @ 8:45 am

I thought it would be fun to try out the Stampin’ Up! White Center Specialty Paper with some embossing folders and the So Very Merry stamp set. And it was!

There are lots of different specialty papers in the catalog (and in my online store) and they all have unique features. The White Center paper is great for a torn edge. And here I dry embossed and lightly sanded to bring out the white core.

I made these cards at a crop, so I just had my watercolor pencils for coloring. They turned out pretty nice! You can get multiple shades of the same color by pressing down more or less with the pencils.

And here’s a close up of one of the cards so you can see how nice the embossing shows up on the White Center paper with a light sanding.

So try out some of the specialty papers and be surprised at what you can accomplish!

Happy crafting,

Kim Wilson

Product List

Rustic Crate – for all seasons

Filed under: Projects — November 8, 2023 @ 10:43 am

NEW PRODUCT ALERT! New Online Exclusives hit my store this week – available while supplies last.

I love it when a stamp set works for multiple seasons. The Rustic Crate bundle fits the bill!

I made an easy set of cards for 3 seasons with Rustic Crate.

Above I used the crate die for a neat 3D effect. It’s hard at first to figure out how to put the 2 pieces together. Once you get the orientation – then it is easy. Just fold up the tabs and add adhesive.

The All About Autumn Designer Paper I used above is no longer available but the Tartan Foil I use below is great too, although it’s only available while supplies last. The Oxidized Copper paper is also a good choice (links below).

Here I paired the Tartan Foil with the Heartfelt Hexagons bundle for some simple cards. Grab the paper soon before it is gone.

And above I used the Let’s Go Fishing paper. I also recommend the Glorious Gingham paper. You can check out the available papers HERE. I must admit, Stampin’ Up! papers are my favorite product!

Try the Rustic Crate bundle for some all season fun!

Happy crafting,

Kim Wilson

Product List

Vellum Overlay Technique

Filed under: Projects — October 31, 2023 @ 10:42 am

I love how this simple technique adds a big impact by maximizing the beautiful scenery papers by Stampin’ Up! Check out my VIDEO too.

I used several great scenery papers as the backgrounds (links below). Cut a 4″ strip of Vellum Cardstock and rip off a tiny strip from the top. Emboss a bold sentiment in copper embossing powder and rip off the bottom. And repeat for more cards – so easy. Use a sponge and silicone mat to gently add a layer of glue to the back of the vellum and it won’t show through.

Products are linked below except for the very last card. The Meandering Meadows paper will be available November 7 in the Online Exclusives.

Give this fun technique a try!

Happy crafting,

Kim Wilson

Product List

Fruitful Blessings – Autumn Cards

Filed under: Projects — October 25, 2023 @ 7:59 am

I thought these beautiful line images from Stampin’ Up! would be just the thing to set off the gorgeous new Tartan Foil Designer Series Paper for some fall cards.

I’m not an expert on coloring with Alcohol Markers, but it was so easy using the light and dark (on shading lines) Stampin’ Blends to color the Fruitful Blessings images. If blending was needed, I went back to the light bullet tip. On the pears and oak leaves, I introduced a third color for interest. HERE’s A VIDEO about coloring with Stampin’ Blends Markers. The new Deckled Circle dies and some In Color gems were just right for adding the sentiments and an accent.

For the corn card, I used leftover scraps of the Tartan Paper (other side) as a background. I love how shiny both sides are!

Hope you got some ideas to try – clickable links to the products are below. Be sure you have subscribed to my newsletter to get the 12 weeks of Christmas projects. And I’d love to have you join my team if you would like to enjoy the demonstrator perks!

Happy crafting,

Kim Wilson

Product List

Trucking Along

Filed under: Projects — October 18, 2023 @ 8:39 am

Since both the Trucking Along stamp set and punch are back in stock, today is a great time to show you my recent projects and some swap cards. This bundle is versatile for any season and goes right along with popular decor trends.

For fall, I colored my truck Old Olive and added some sunflowers to the back.

For Christmas, I stamped the sentiment right on the One Horse Open Sleigh Designer Paper. My truck is punched and colored in Boho Blue with some spots of Copper Clay “rust”.

I punched out a second truck to add the cute trailer to this card so there’s room for BOTH a tree and presents! The background is the Sketched Plaid stamp and I colored with Real Red Stampin’ Blend markers this time.

The artist for this swap made a fun fold bridge card and added the truck to the bridge. She also used the One Horse Open Sleigh DSP.

This triple wiper card features the Glorious Ginham paper and truck punched from Pretty Peacock Cardstock.

I love how this artist used the tearing technique to make her snow drifts. A touch of blue ink over the embossed background makes the snowflakes pop.

I hope if you haven’t bought the Trucking Along bundle yet, that you are convinced it is a must have (see link below). I can’t wait to see this truck featured with our new spring designer papers too!

Happy crafting,

Kim Wilson

Product List